How to Clean A Tower Fan (With Step By Step Photos)
Tower fans easily gather dust, pet hair and other allergens, so to keep your tower fan running efficiently, you’ll need to clean it on a regular basis. But dusting the fan’s exterior with a microfiber cloth or vacuuming it with one of our recommended upright vacuums or pet hair vacuums, isn’t enough. You’ll need to open the fan up and clean its interior as well. Fortunately, it’s easy to do, and we show you how to clean a tower fan in this step-by-step guide.
Tower fan cleaning, step by step:
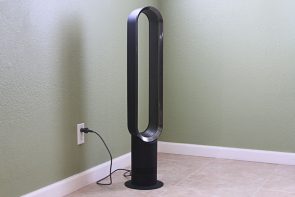
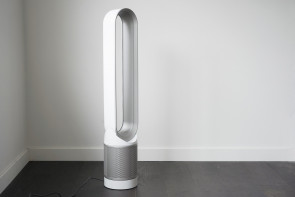
Unless you’ve invested in a Dyson bladeless fan, it’s likely that yours is similar in shape and style to our top pick, the Seville Classics – Ultraslimline. If you’re unsure that your tower fan is a bladeless fan, our article explains in detail how they work.
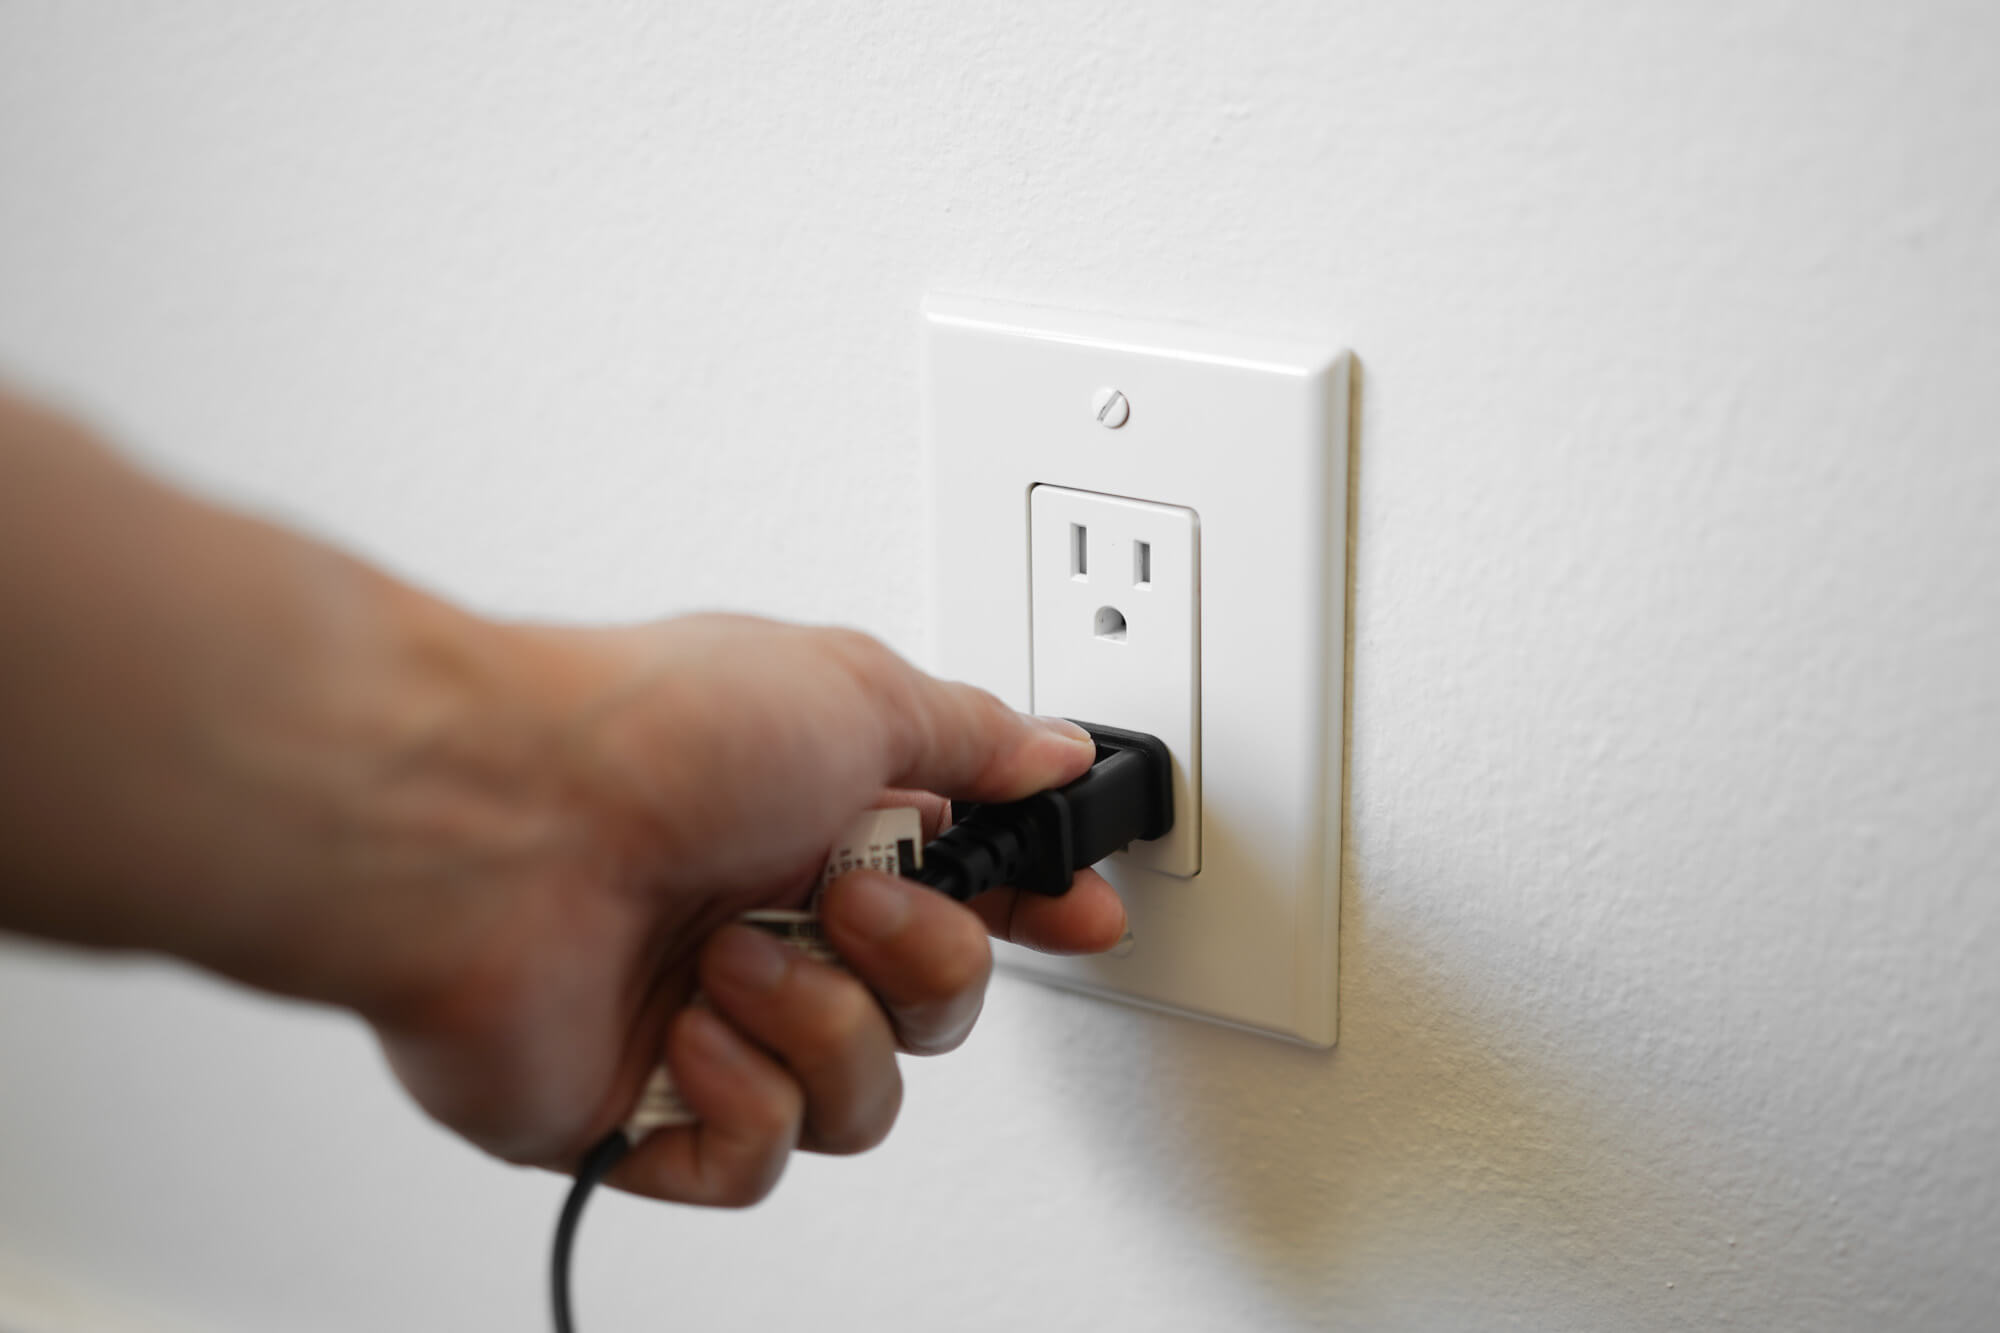
- The essential first step for cleaning any electrical appliance is unplug it, and put the fan on an elevated surface, such as a countertop or table. Also, cleaning the fan will be easier if you wrap up the cord so it’s not dangling.

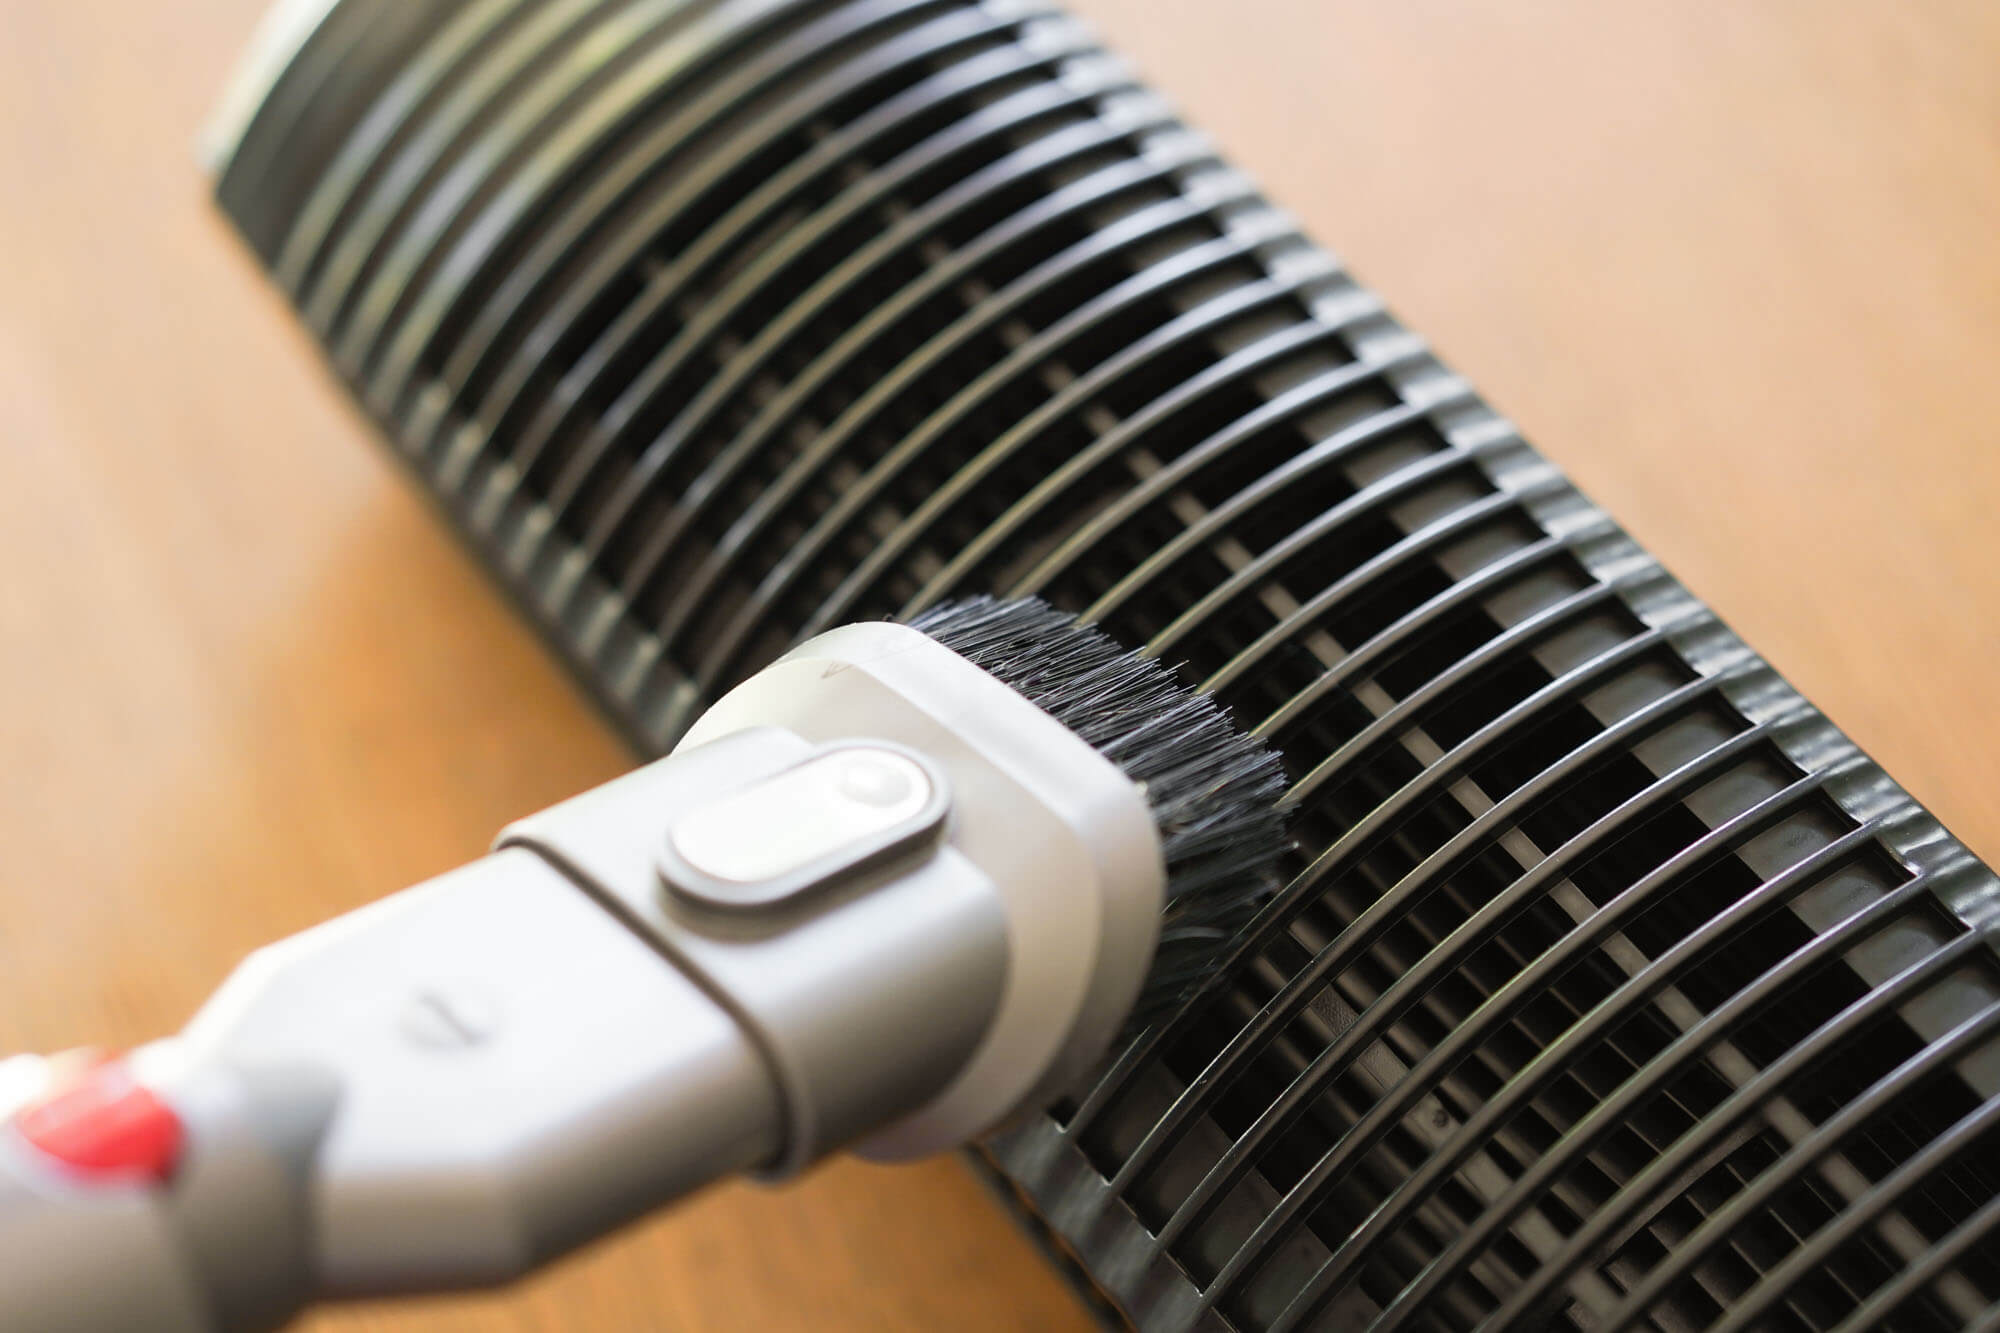
- Before opening up the fan, use a vacuum’s brush attachment to vacuum dust or any other particles from the vents. If you don’t have a brush attachment, hold the vacuum hose end to the vents and brush the dust into it with a dry paintbrush.

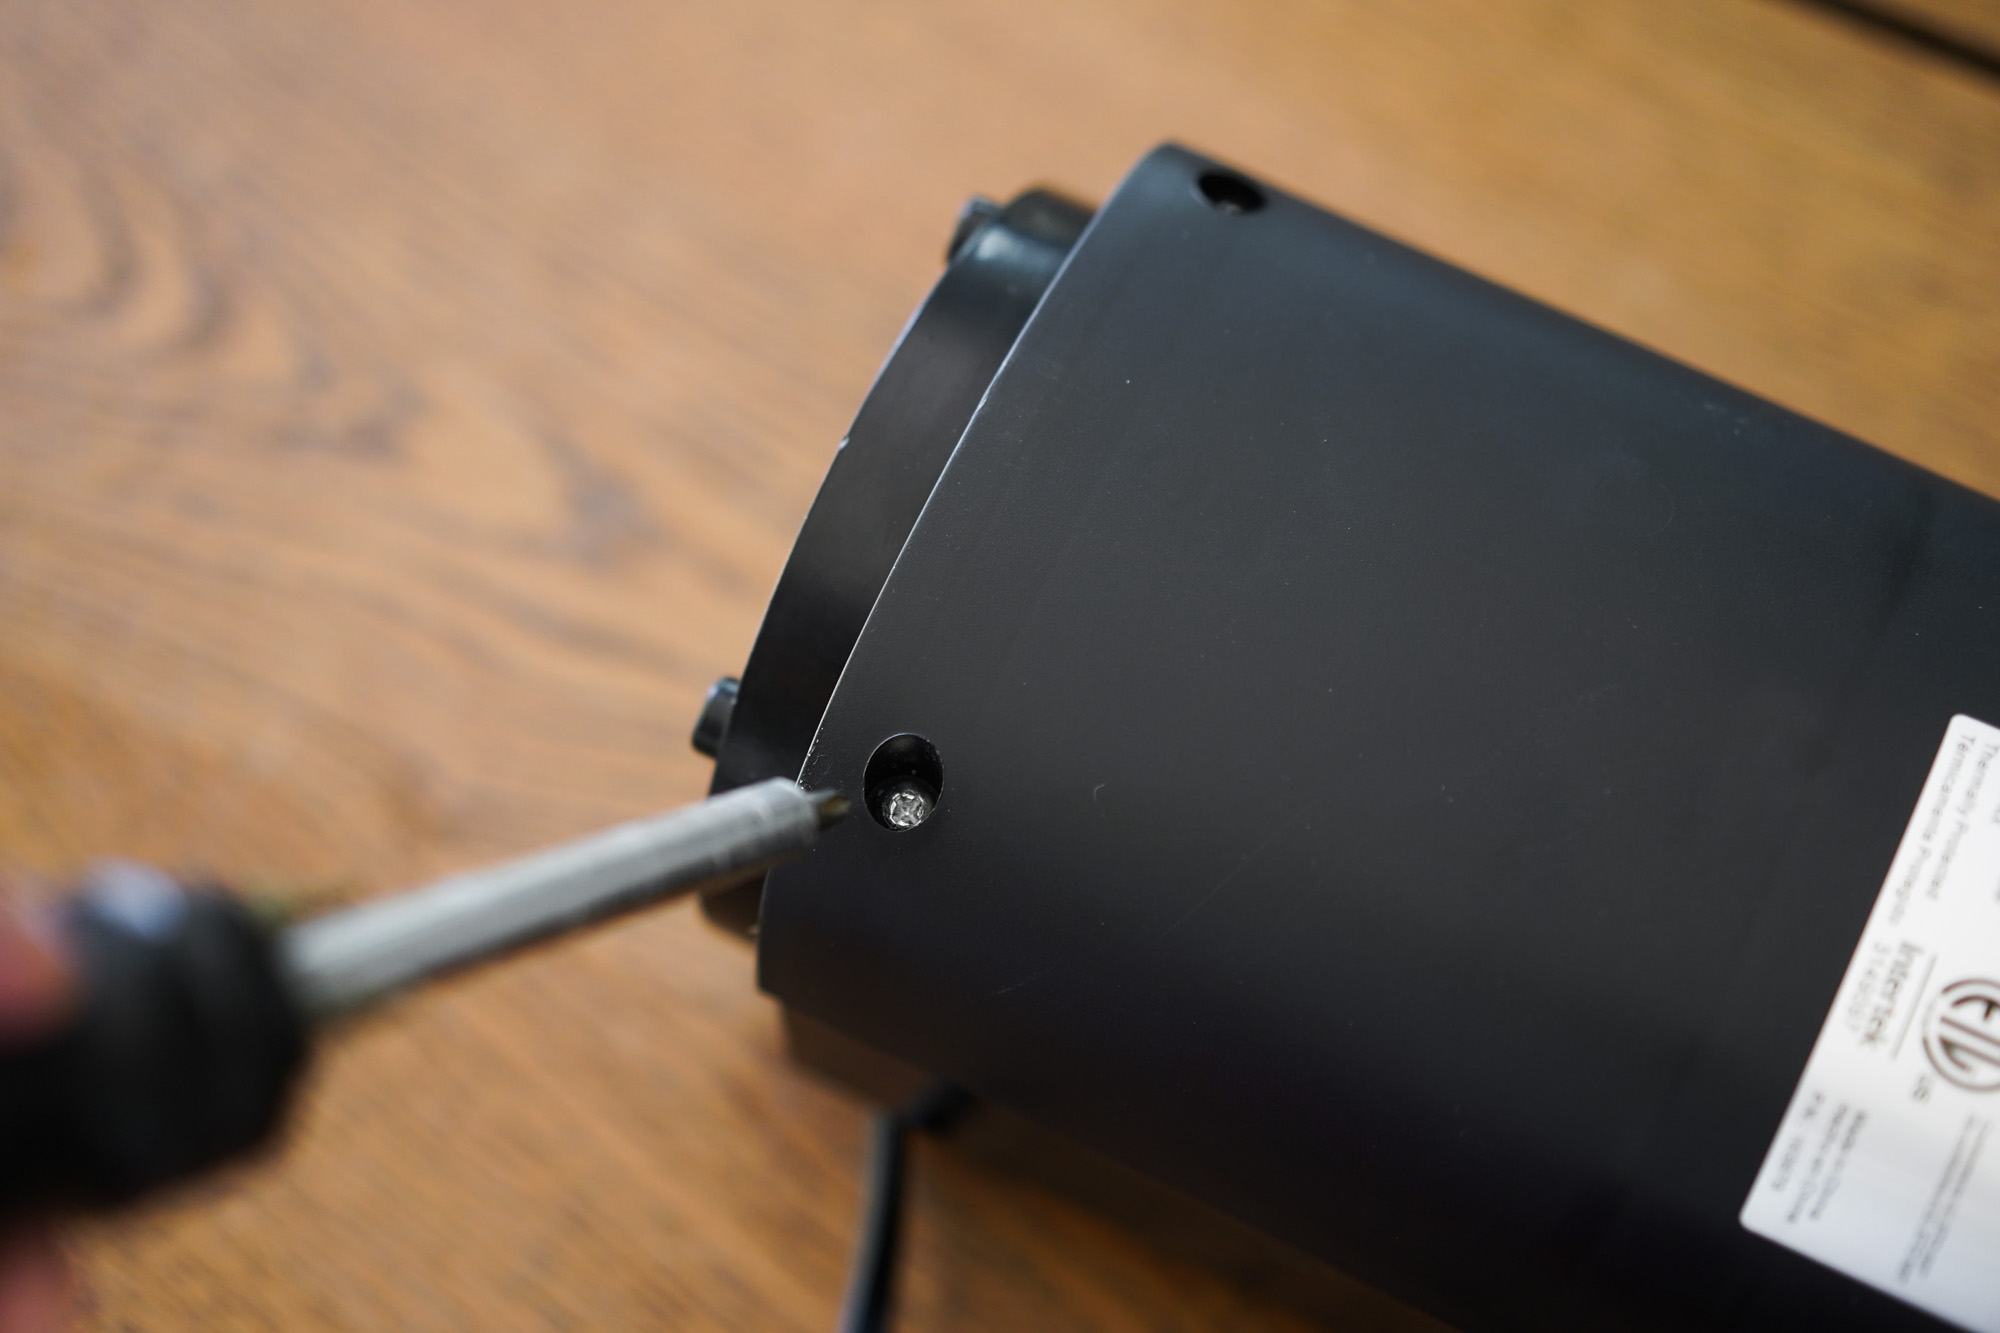
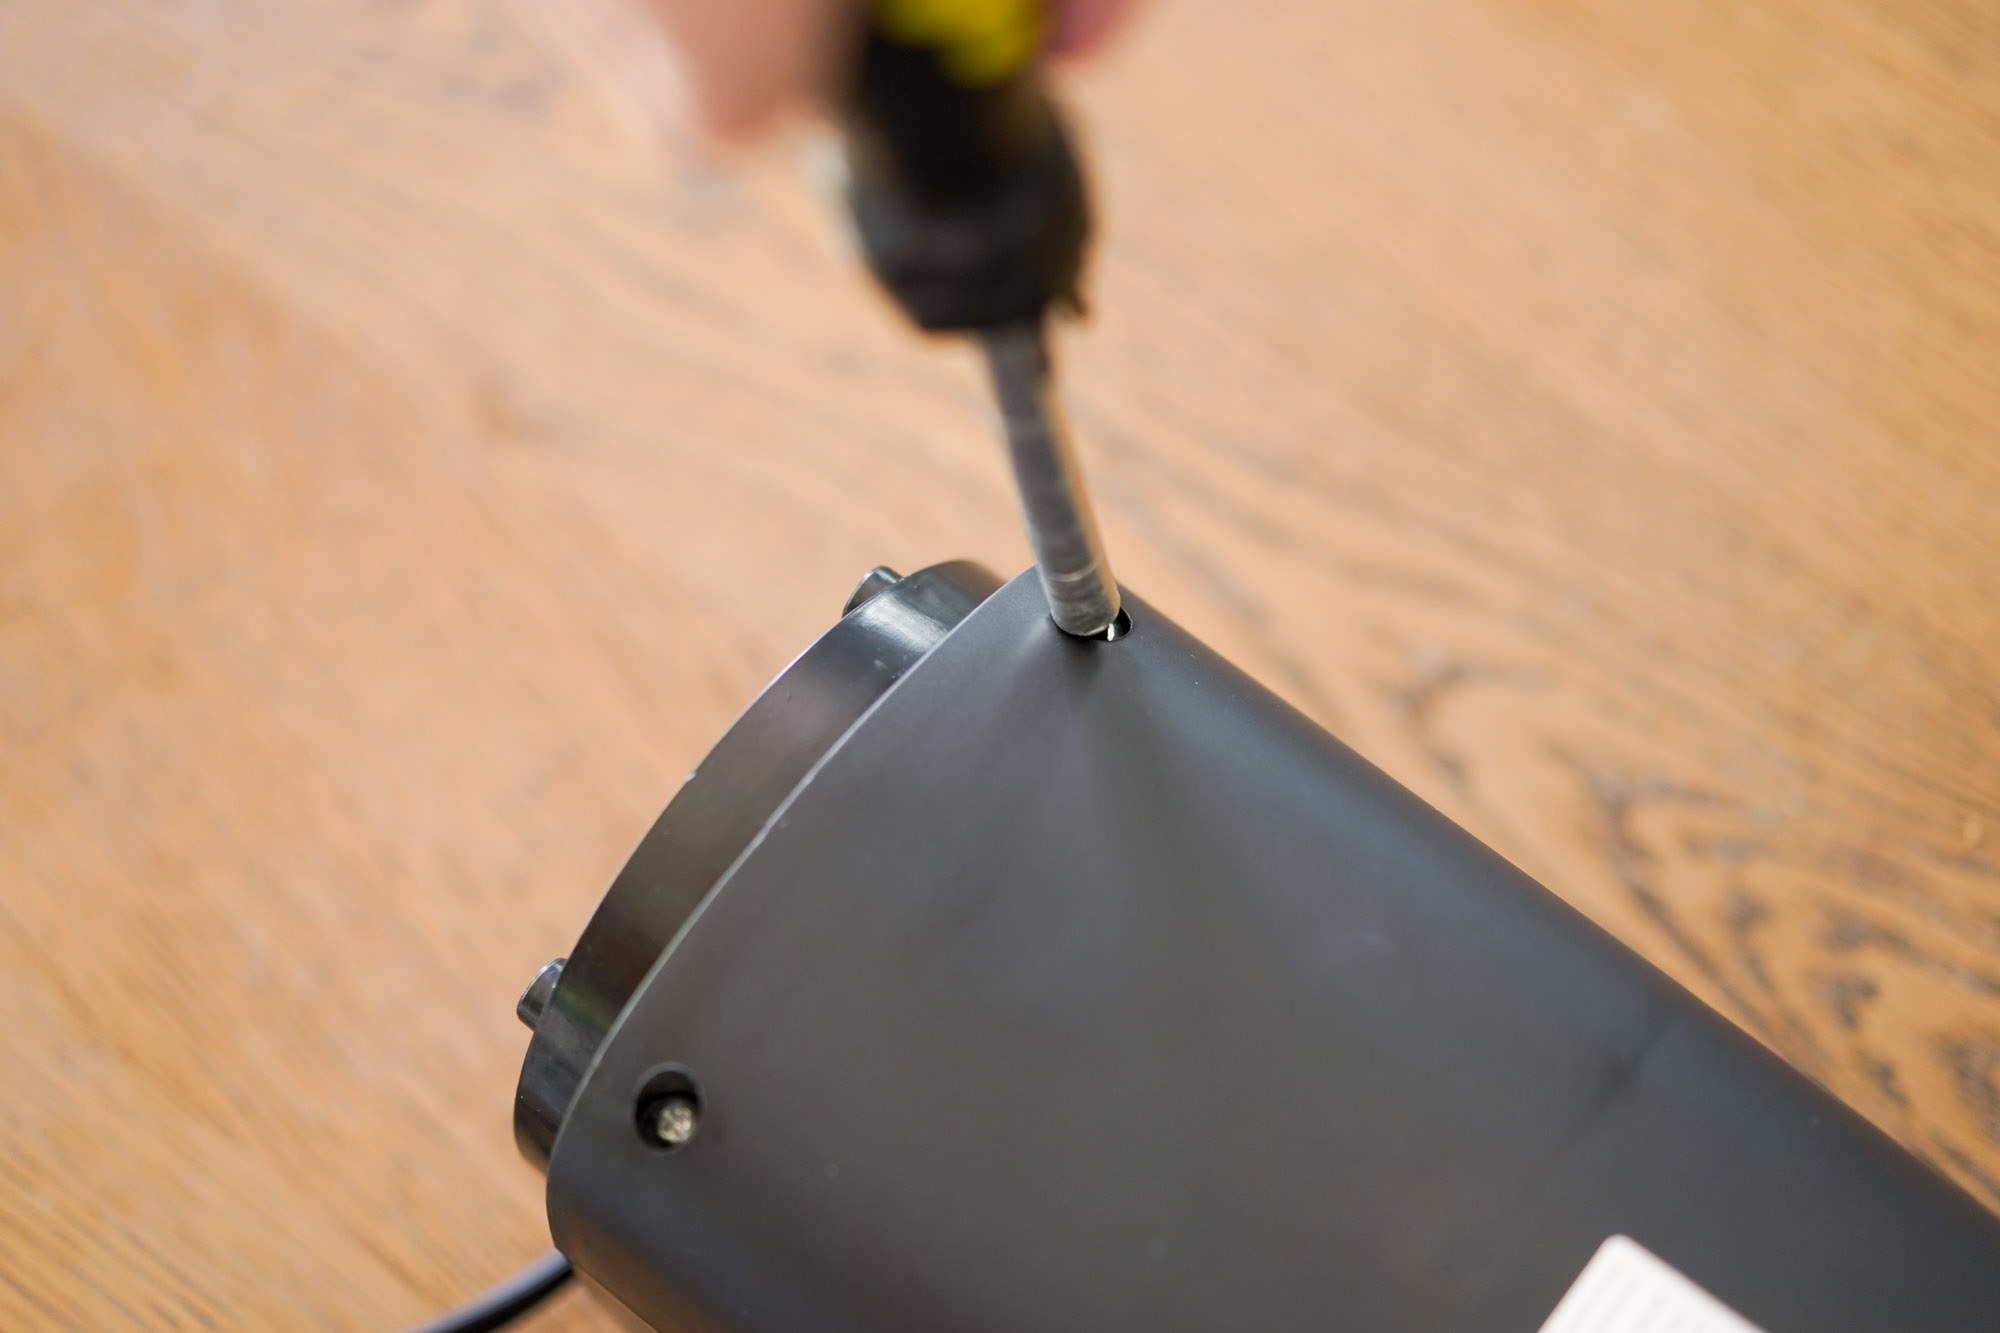
- Depending on your fan’s brand, locate the two to eight Philips-head screws that hold the casing to the fan’s frame. Use an appropriately sized Philips head screwdriver to unscrew them. Put the screws in a place where you can find them when it’s time to put the fan back together.

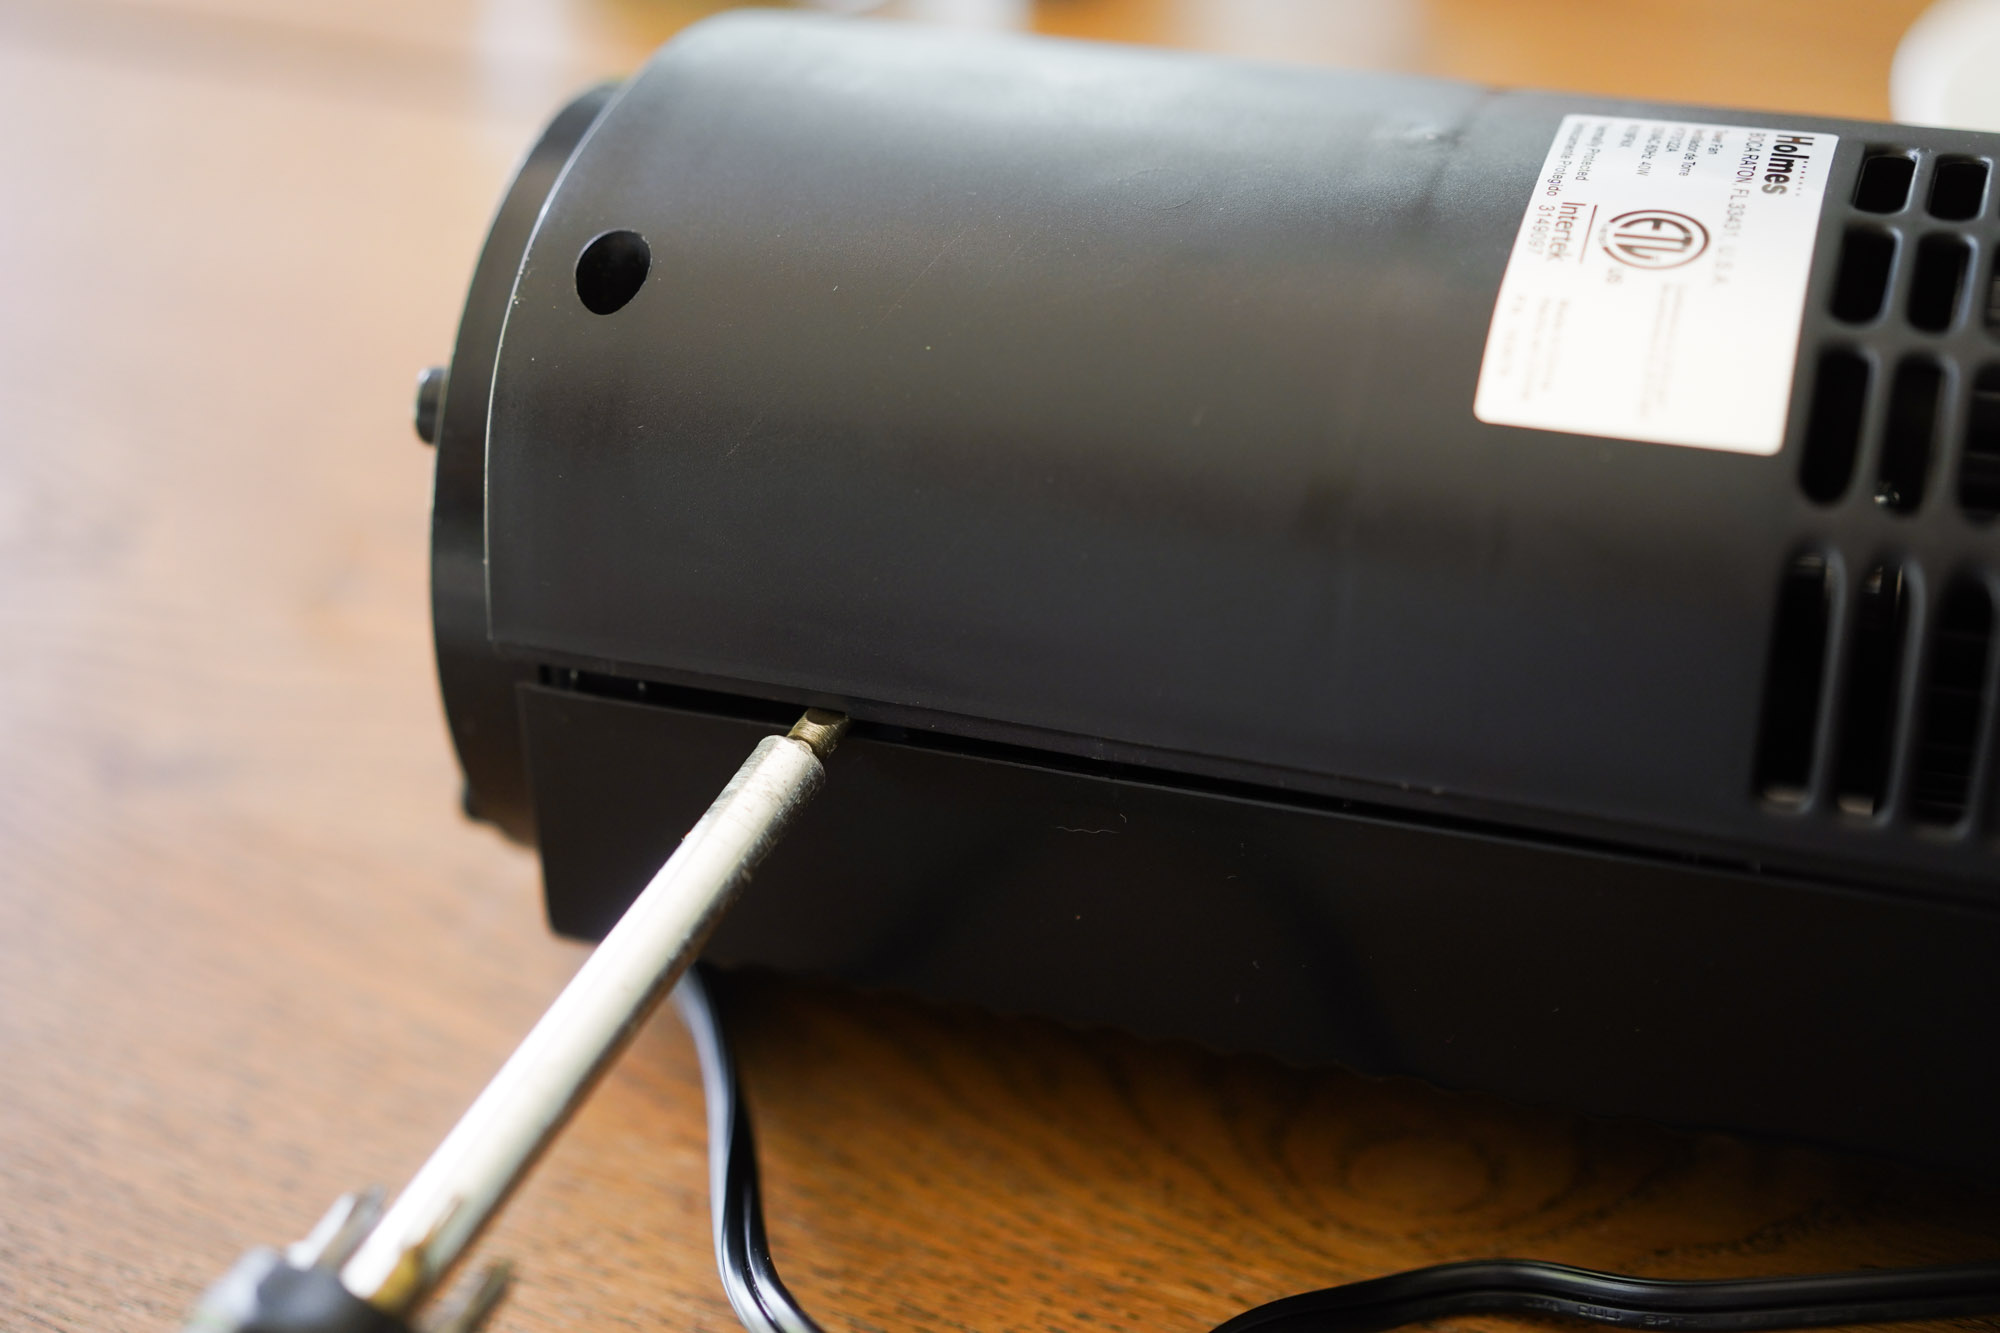
- Using a flat head screwdriver, gently pry the casing from the top, working your way down. Be aware that there are usually two tabs in the bottom interior of the casing that can break if you apply to much pressure.

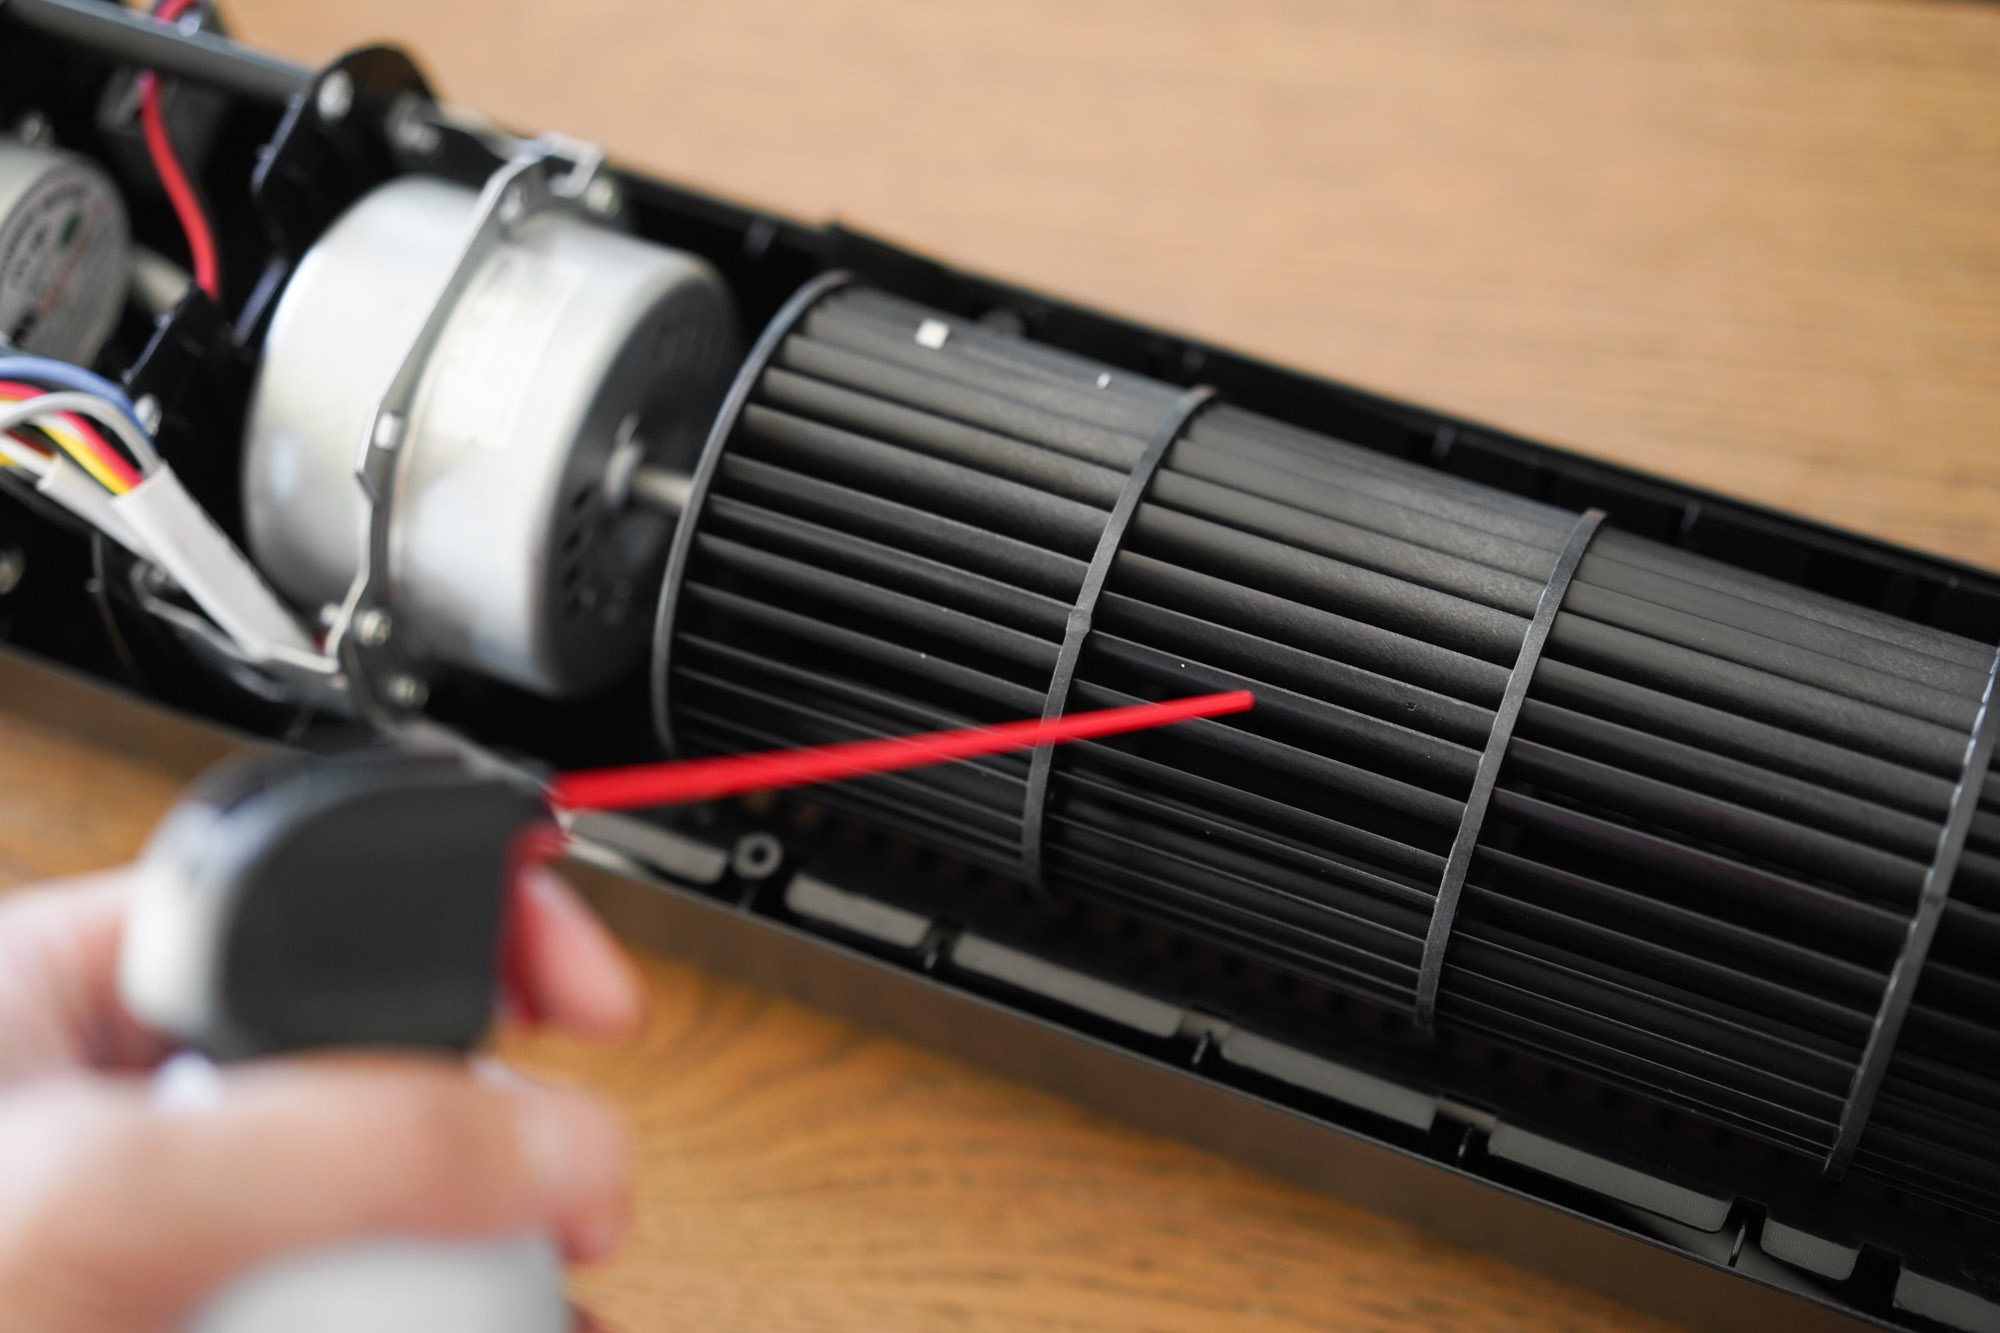
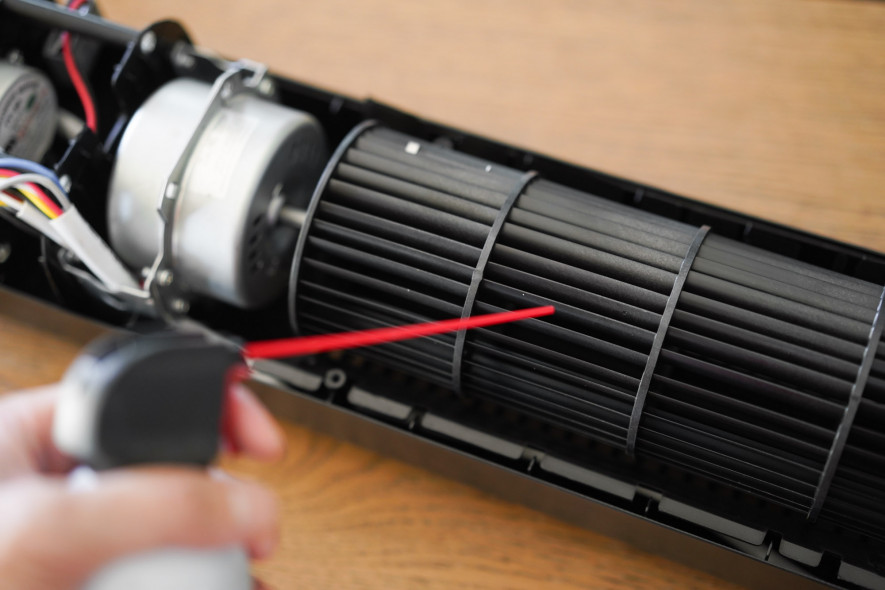
- Lay the fan down on the surface. With a can of compressed air (for example, for cleaning keyboards), spray the fan’s blades to loosen built-up dust and other debris.

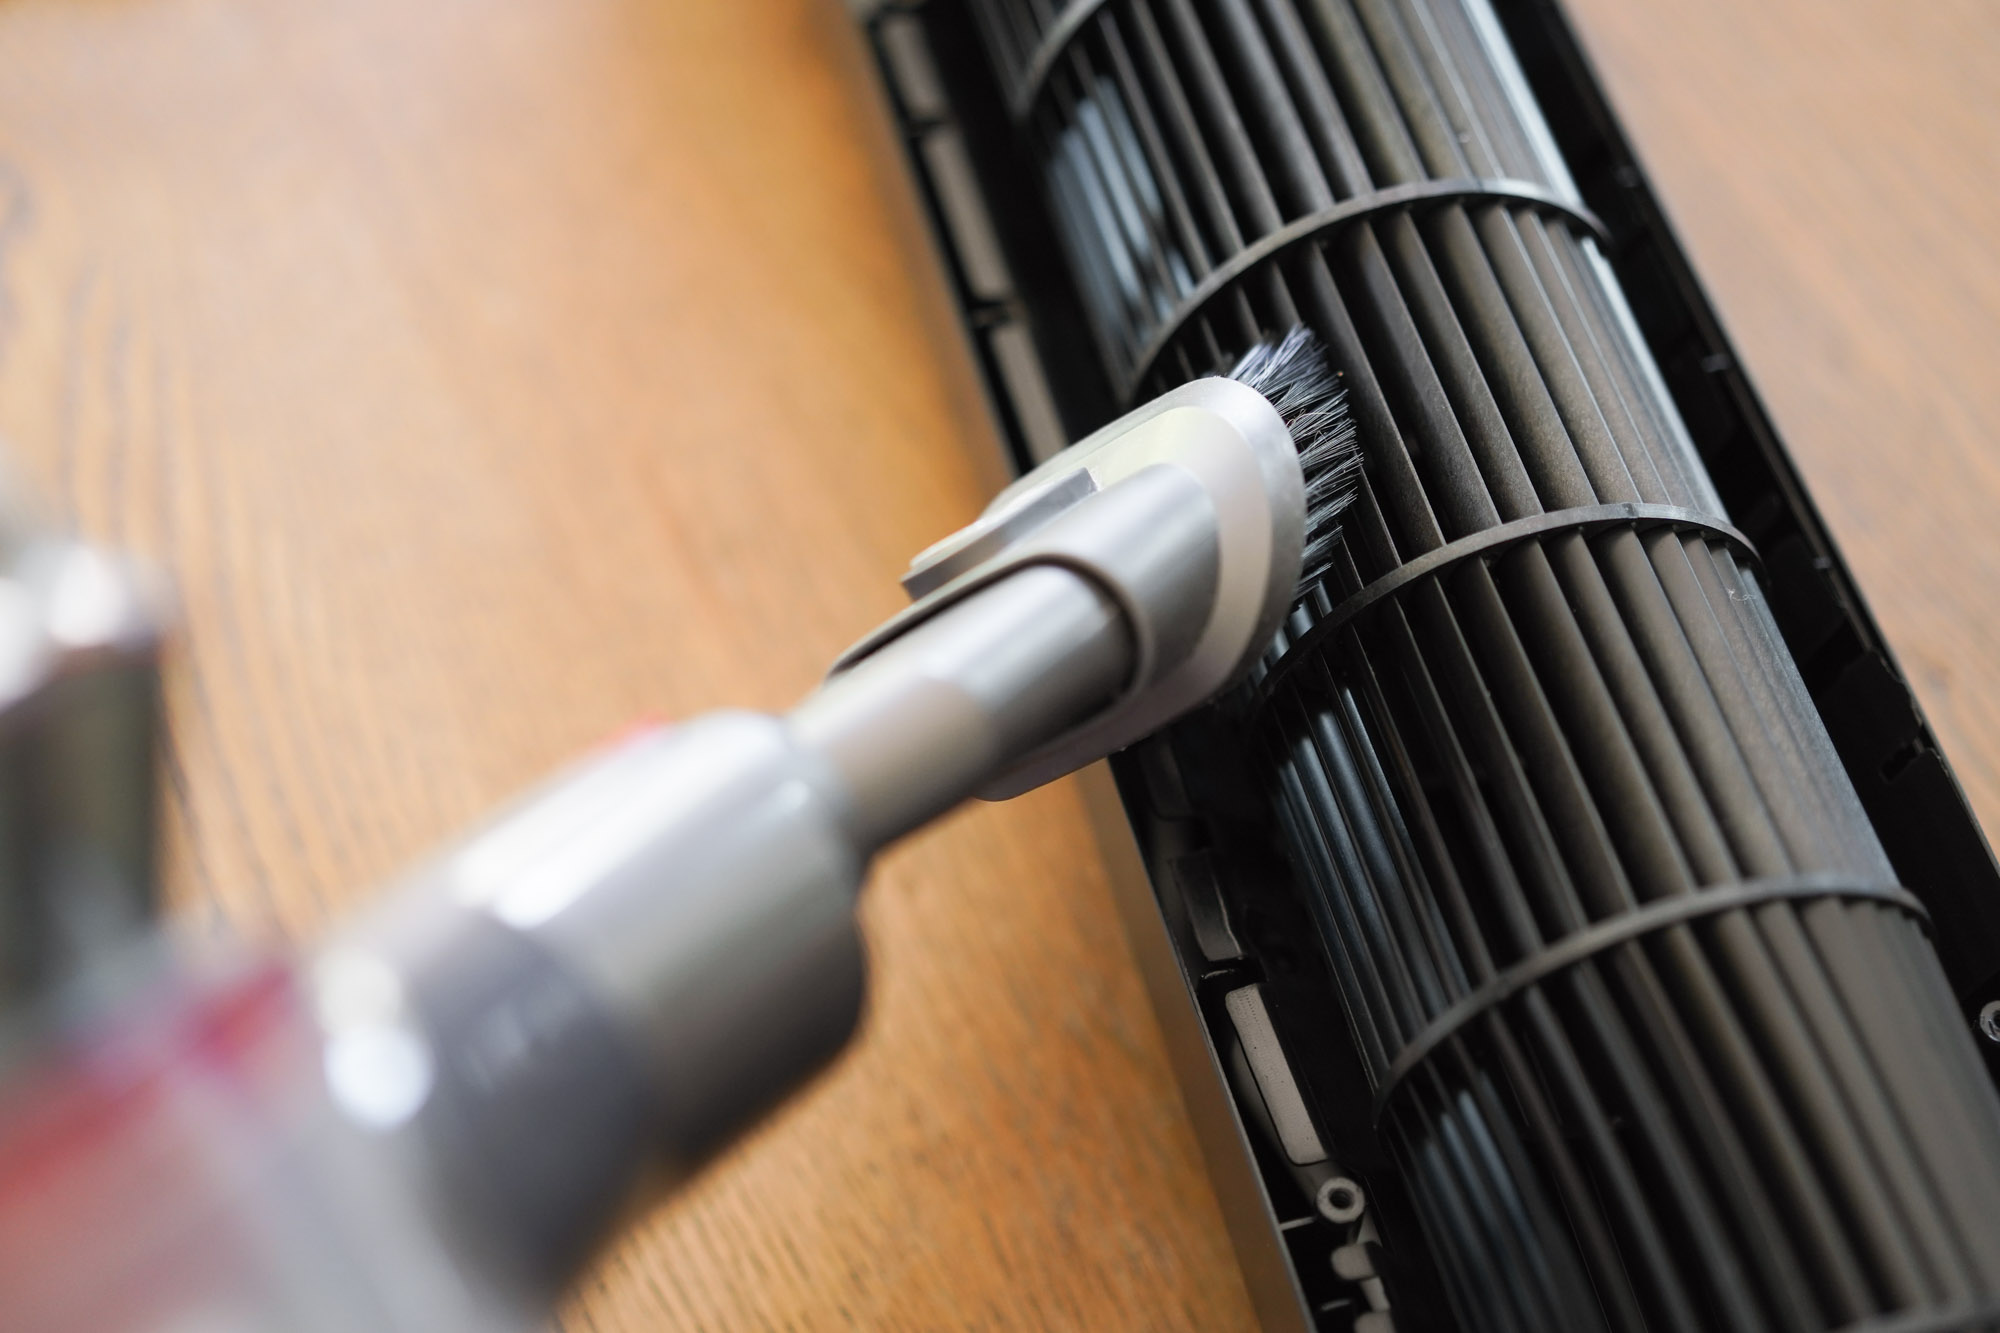
- Using the brush attachment, vacuum the fan blades, moving up and down the length of the cylinder and slowly turning it. If you don’t have a brush attachment, apply the vacuum’s hose end to the fan blades, and brush the loosened dust with a dry paintbrush.

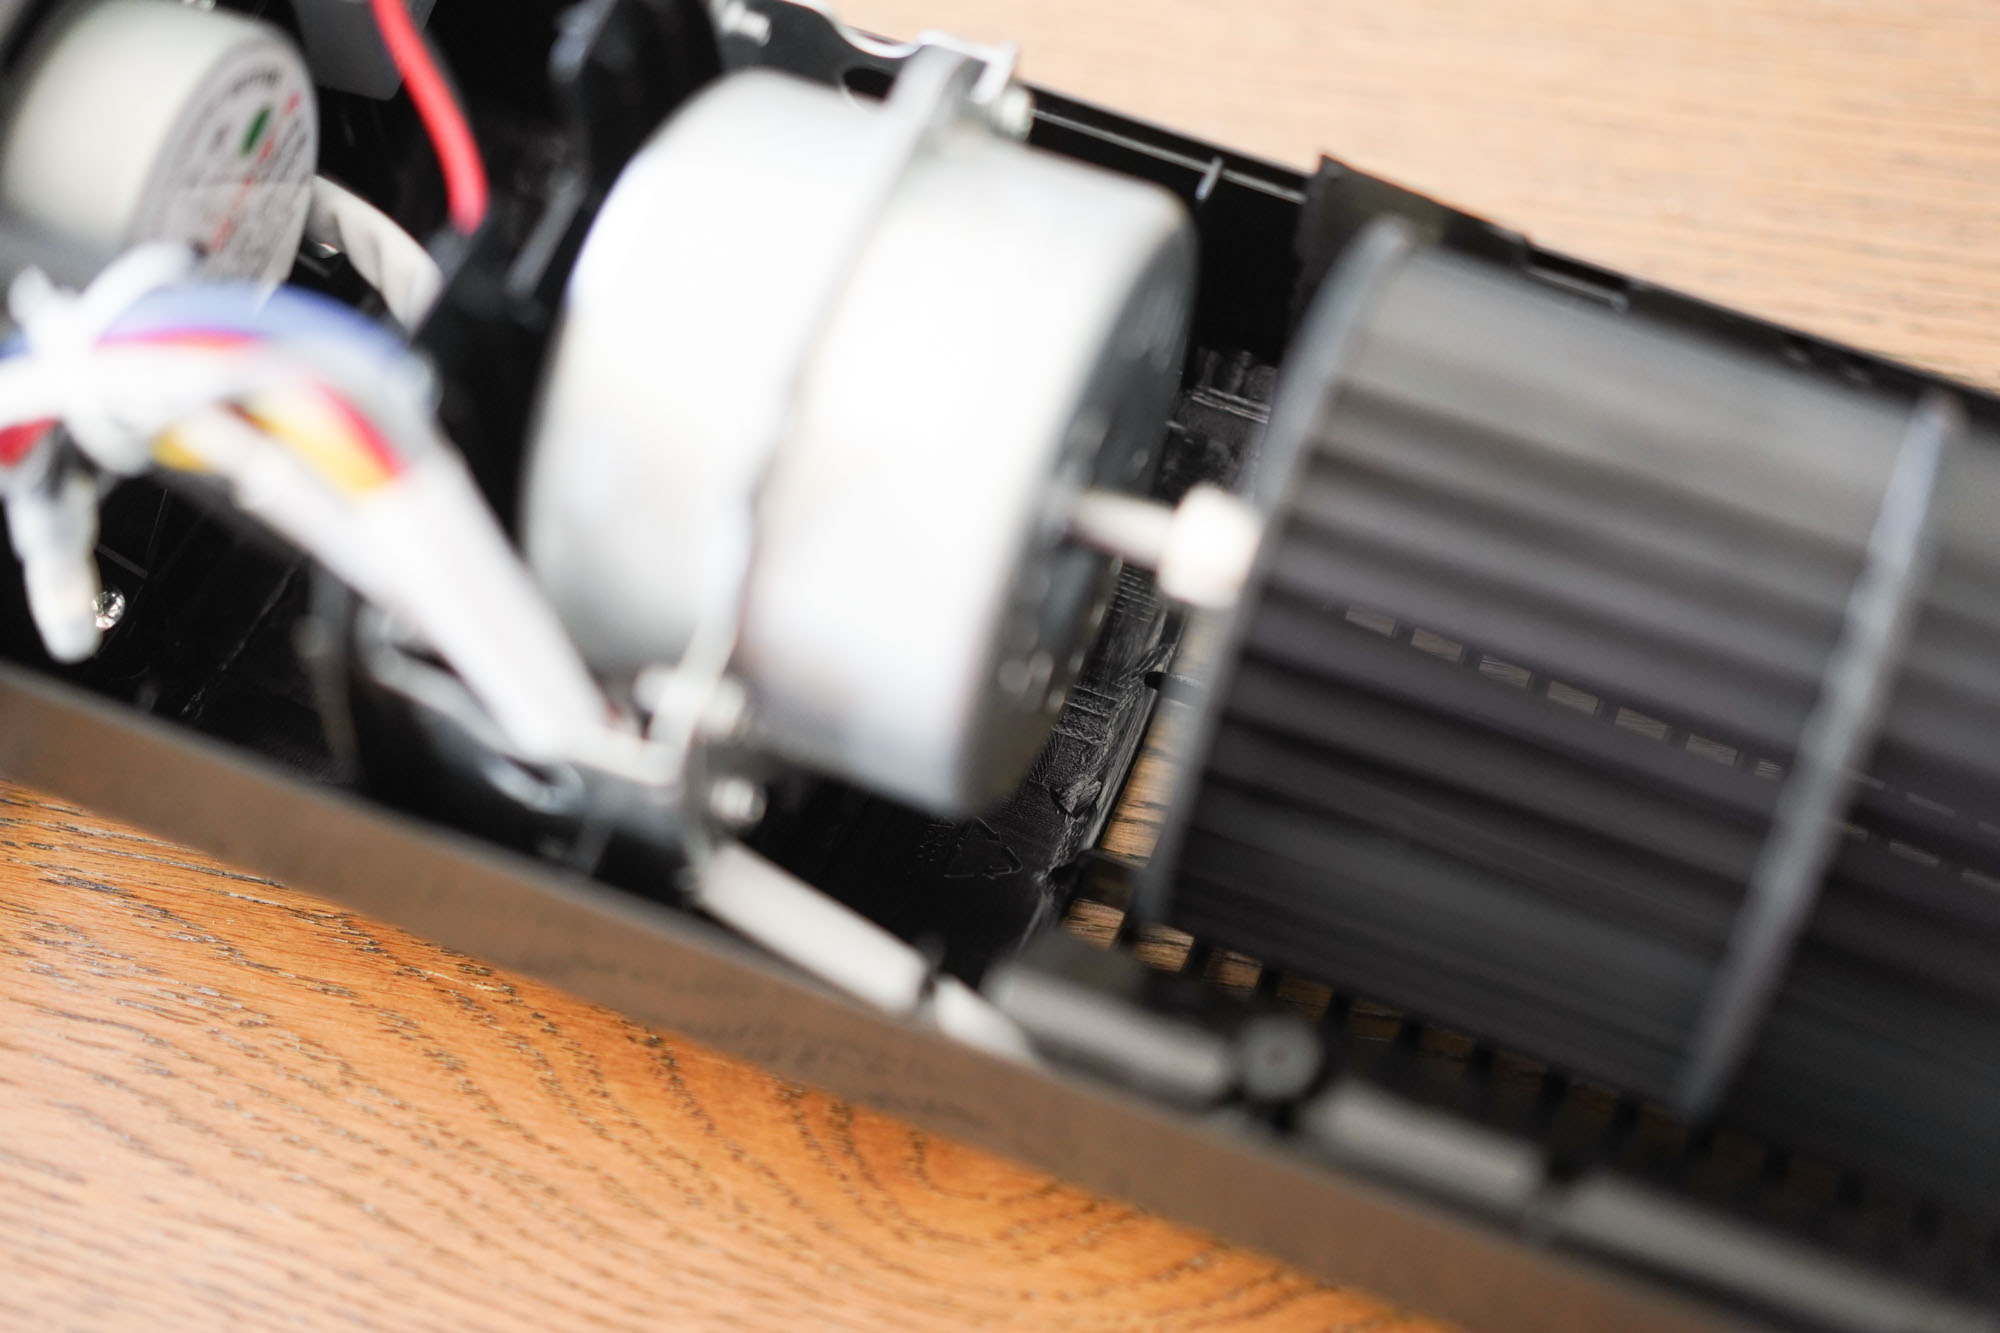
- Don’t forget to also vacuum the casing behind the fan blades and the fan’s motor and brackets.

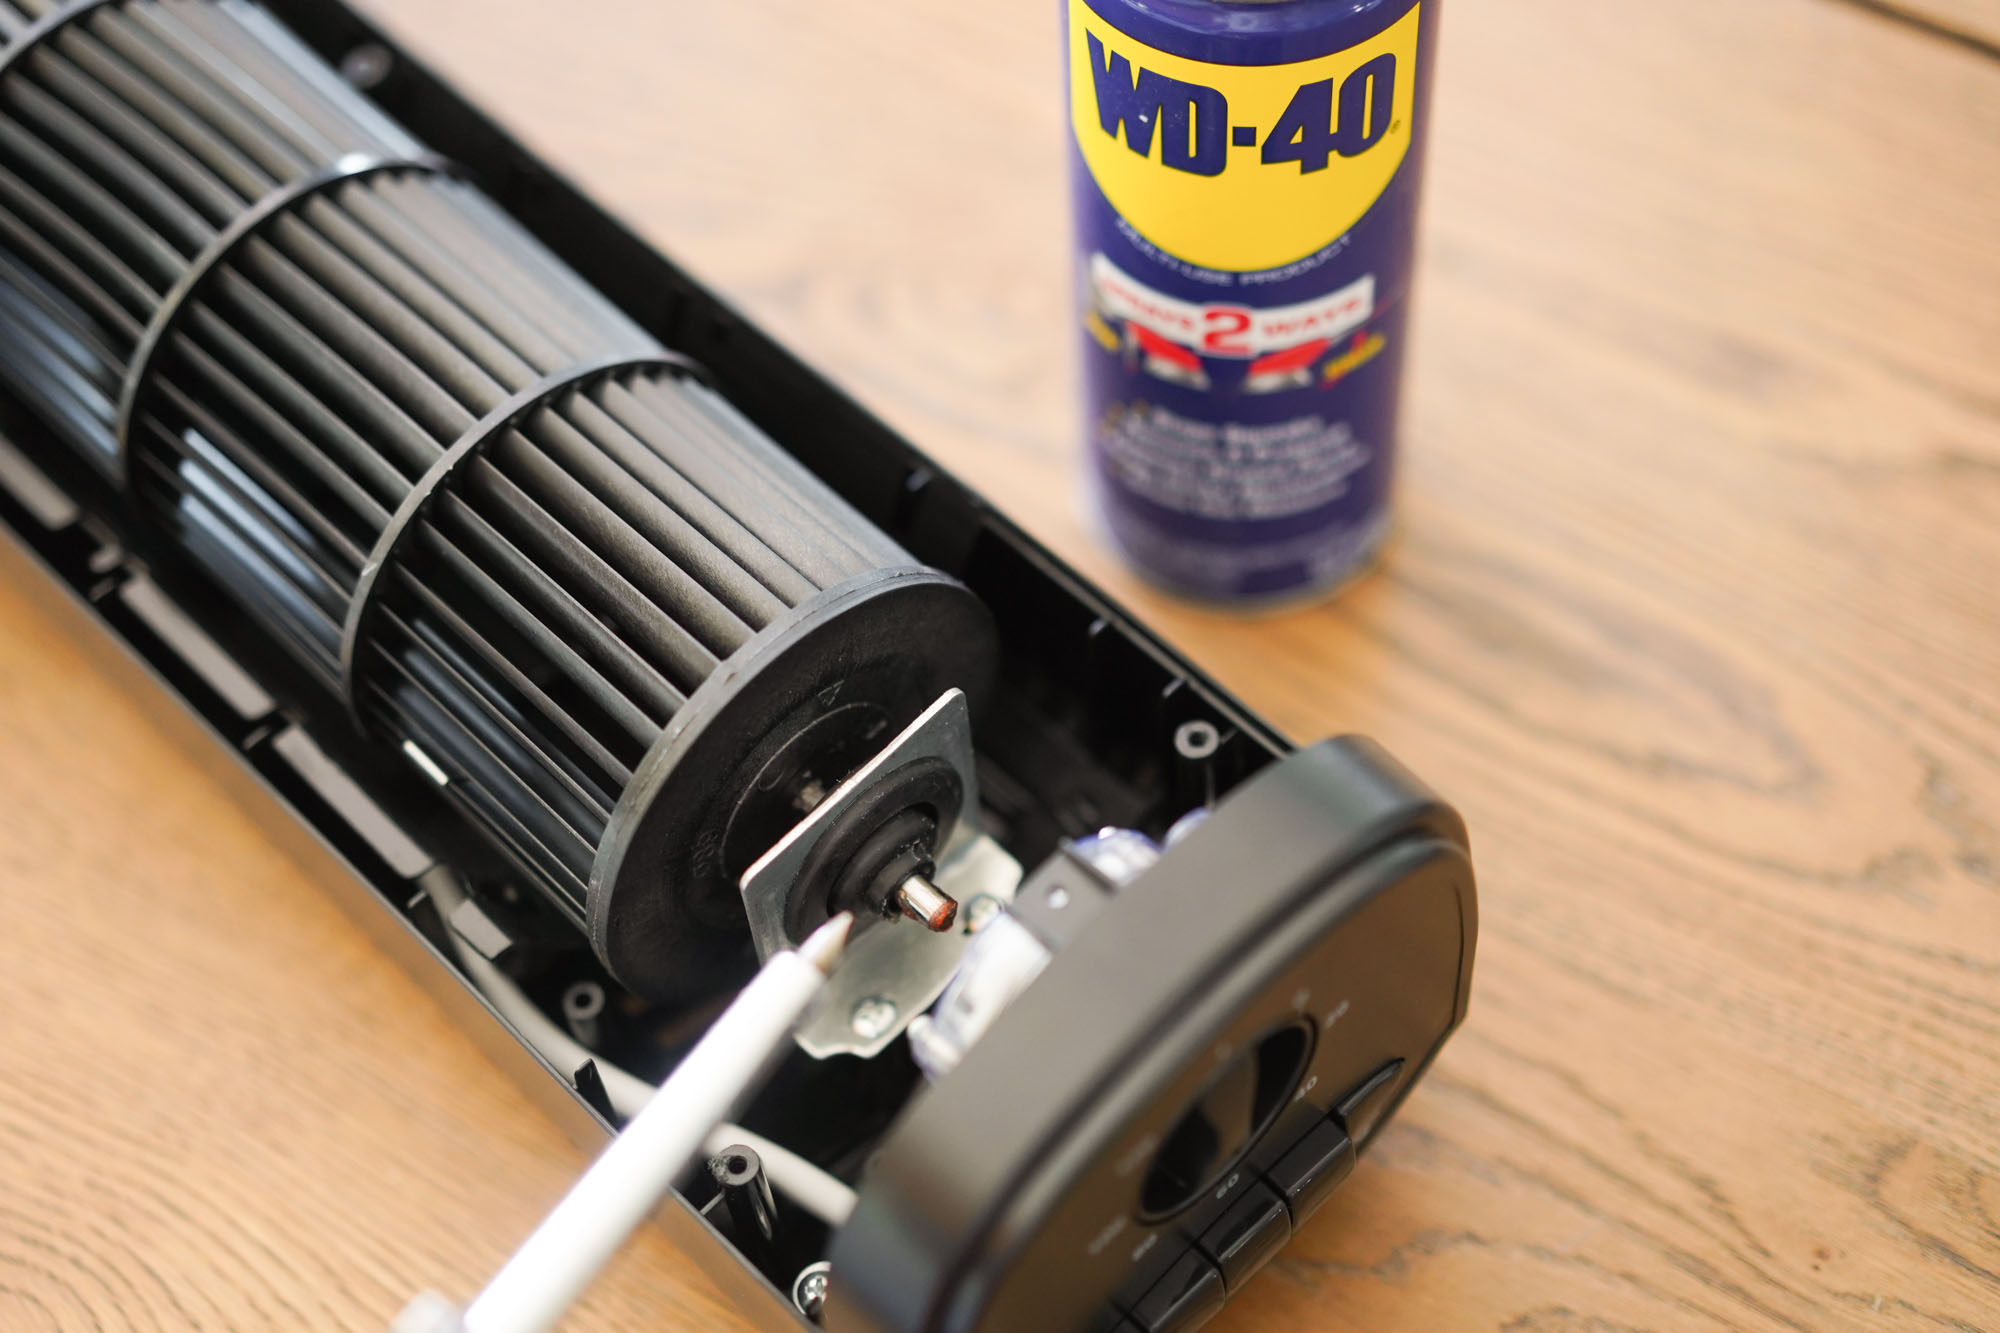
- At the top of the fan-blade column, you’ll see the fan’s bearing, which holds the fan blades to the revolving column. Spray the bearing with WD-40 or other lubricant, and slowly spin the column, so the lubricant lightly coats the bearing.

- You’re now ready to reattach the casing. Insert the casing into the bottom tabs first, and then snap the casing onto the fan’s frame, working your way up. Screw the casing in place. Plug the fan in, and turn it on. Let it run a couple of minutes so any dislodged dust you may have missed in the fan blades can be blown out.


